Picking up things from where I left last, we were celebrating the 'birthday season' during November. The season ended with Hubby's and Master Ts' falling just days apart. And birthdays mean cake. Not one but two!

Master T turned two in November! He celebrated his birthday with friends at playschool. For the celebrations there, I baked vanilla chocolate marble cakes, yes plural. It was fun to see li'l ones asking for a second serving.

For the party at home I wanted a different flavor for the cake, no more chocolate! Also look wise a spiffed up one. Then there was this vanilla buttermilk cake recipe I wished to share with you. And some strawberry crush with whole strawberries I had been waiting to use. Also T's maushi had gifted me some candy cake decorations from Wilton. I put all these ideas together and that lead to this awesome cake.
It was fun to watch people's reaction on seeing the cake. 'Wow!', 'It's great!' , 'It's a tall cake!' . And tall it was and it awed you. But only till you lifted it. I was deceptively heavy! And it vanished from the plates in a jiffy.

The cake has four layers of vanilla buttermilk cake. The recipe is inspired from Deb's blog here. This cake is a keeper, light and moist. I have baked it a couple of times and I was pleased with the result each time. I was waiting for an opportunity to use it in a layered cake and this one seemed perfect. The only major change from the original recipe was amount of baking soda used.
Two tips to get this cake perfect: one, cream the butter-sugar mixture for good 3-4 minutes. And second, refrain from stirring too much while mixing flour and buttermilk. Take the sentence 'Mix just till combined.' literally. You have to mix the batter just till you stop seeing dry flour in it. Any more mixing you do helps in creating gluten which leads to a hard chewy cake. Trust me that is not something you want.

For filling the cake I used strawberry puree and strawberry buttercream. For frosting the cake I followed a simple buttercream recipe. I think I will go for Swiss meringue buttercream next time. I tinted the outer frosting slightly with blue gel color. Use a toothpick to pick the color from the bottle. The amount of color will seem teeny-weeny, but that's as much as you want. A bit goes a long way. The butter I used was yellow in color and hence the buttercream turned sea-green instead of blue.
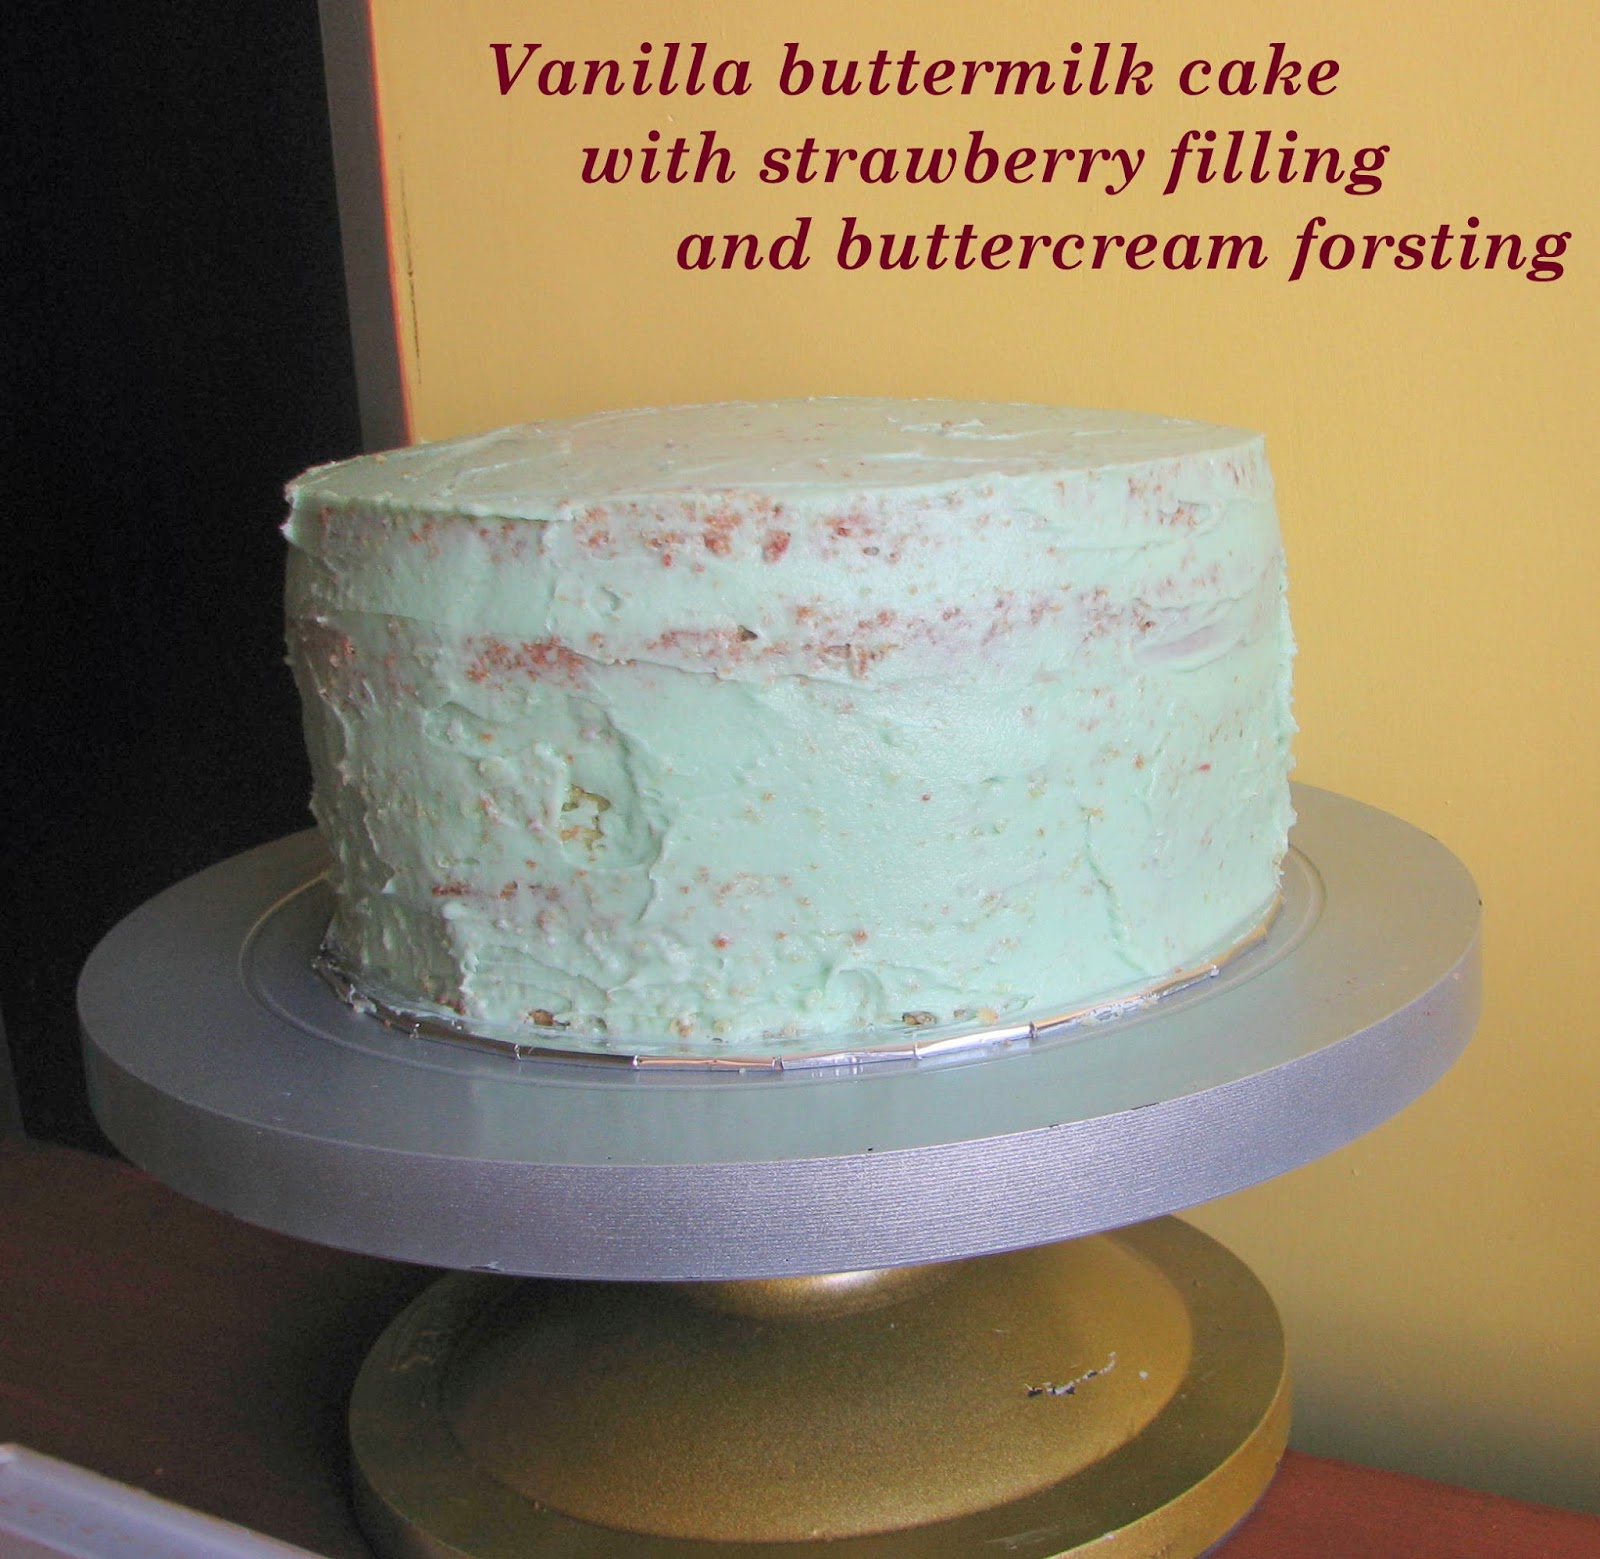
As much as I love baking cakes and experimenting with new recipes and ingredients, my skills in terms of frosting and decorating them are very limited. It takes loads of practice they say. And loads of buttercream too, I add. This cake was frosted in three steps, layering+filing, crumb coating and final frosting. For the final touch I decorated using ready-to-use edible cake decorations by Wilton.

I was happily surprised looking at my creation. The delicious cake was worth the hours spent on planning, baking, frosting and keeping master T from licking the frosting.
Here is the recipe:
Vanilla Buttermilk Cake with Strawberry filling and Vanilla buttercream
Ingredients:
Cake
4 Cups + 2 Tbsps Cake flour*
2 Cups sugar, powdered
2 tsp baking powder
1 tsp baking soda
1/4 tsp salt
4 eggs
1 Cup butter
2 Cup buttermilk**
1 1/2 tsp vanilla extract
1/2 tsp strawberry essence
Buttercream
1 Cup (227grams) butter
4 Cups (460) icing sugar
1 Tbsp vanilla extract
2 Tbsps cream or milk
4 Tbsps strawberry puree
Strawberry Puree
1 cup store bought strawberry puree
or pulse strawberry crush in a blender
Steps for preparing cake:
Preheat oven to 175°C. Grease, line and dust two 8-inch round baking pans. Set aside.Sift together all of the dry ingredients except the sugar. Set aside.
In a large bowl cream together butter and sugar, for 3-4 minutes, till light and fluffy. Add vanilla and strawberry essence, mix well.
Add eggs one by one, beat well after each addition.
Add buttermilk and mix. The mixture may curdle but it will all come together once flour is added.
Add flour mixture in 3 batches. After each addition, mix just till combined.
Spread batter in prepared pans. Tap the pans on the counter once to release any trapped air pockets.
Bake for 30-35 mins or till a toothpick or knife inserted in cake comes out clean.
Once done, take the cake out of oven and let it cool in pan for 10 - 15 mins.
Turn it out onto a wire rack. Let cool completely.
Before frosting or decorating this cake, refrigerate it for at least an hour.
*Cake flour is similar to All-purpose flour but it is lighter in weight and has lower protein content. This results in more soft and tender cakes.
Substitute 1 cup of cake flour with 3/4 cup of All-purpose flour and 1/4 cup cornflour/cornstarch.
For this cake, I used 3 cups All-purpose flour + 1/2 cup of cornflour instead of the given amount of cake flour.
**Buttermilk is the liquid left behind after churning butter out of cream.
For substituting 1 cup buttermilk, take about 2 tablespoon plain curd in an 1 cup
measuring cup and fill the rest with milk. Let it set for 15-20 minutes
and then use it in place of buttermilk in above recipe.
Steps for preparing buttercream:
Frosting:
Cream butter till fluffy. Add sugar in 1/2 cup batches and mix well.
Add vanilla, mix well. Add cream, starting with 1 tablespoon to get desired consistency.
You can make half a batch of this and make more if required.
Filling:
For strawberry flavoured buttercream, add strawberry puree along with vanilla while mixing.
Assembly:
For assembling this cake, I highly recommend using a turn table. But we can also use a tall dabba/round tin to raise the cake to comfortable height.
Have your serving plate or cake board ready.
Cut each cake horizontally in two layers using a long serrated knife or a bread knife.
Put a small amount, about 1/2 teaspoon of buttercream in the center of the cake board or serving plate. This stops the bottom layer from sliding around while we frost the cake.
Place the bottom layer of one of the cakes on the serving plate/cake board.
Spread about 3-4 tablespoons of strawberry puree on this layer.
Place the top layer of the same cake on the puree.
Dollop about a third of
the strawberry frosting on top. Spread the frosting leaving about
one-fourth of an inch margin around the edge. The margin is to avoid
frosting from oozing out when the next layer of cake is placed on top.
Place the second top layer of a cake on top of the frosting. Spread some strawberry puree on top of this. Place the last remaining bottom layer of a cake with the bottom side facing up. This is to get a smooth top.
Place the second top layer of a cake on top of the frosting. Spread some strawberry puree on top of this. Place the last remaining bottom layer of a cake with the bottom side facing up. This is to get a smooth top.
Taking small amounts of buttercream, spread it around the sides and top of cake. This is called crumb coating, to seal-in the crumbs.
Refrigerate the cake for 30 mins for the frosting to set.
Now frost the sides in back and forth
strokes using small amount of frosting at a time. Dollop the remaining icing on the top of the cake and spread it evenly.
Using my small offset spatula, I drew vertical strokes on the sides while turning the turn-table constantly. On the top of the cake I made kind of spikes, again using the offset spatula.
Using my small offset spatula, I drew vertical strokes on the sides while turning the turn-table constantly. On the top of the cake I made kind of spikes, again using the offset spatula.
I hope you will give the recipe a try or at least some parts of it or a scaled down version of it.
Happy Baking!
Shwe


